How To Lace Your Walking Boots
Ever had aches and cramps in the top of your foot? Blisters because of heel lift? Or maybe there are areas on your ankles that your boots press into leaving them sore and tender at the end of the day? Believe it or not every one of these issues can be helped simply by changing the way you lace your boots!
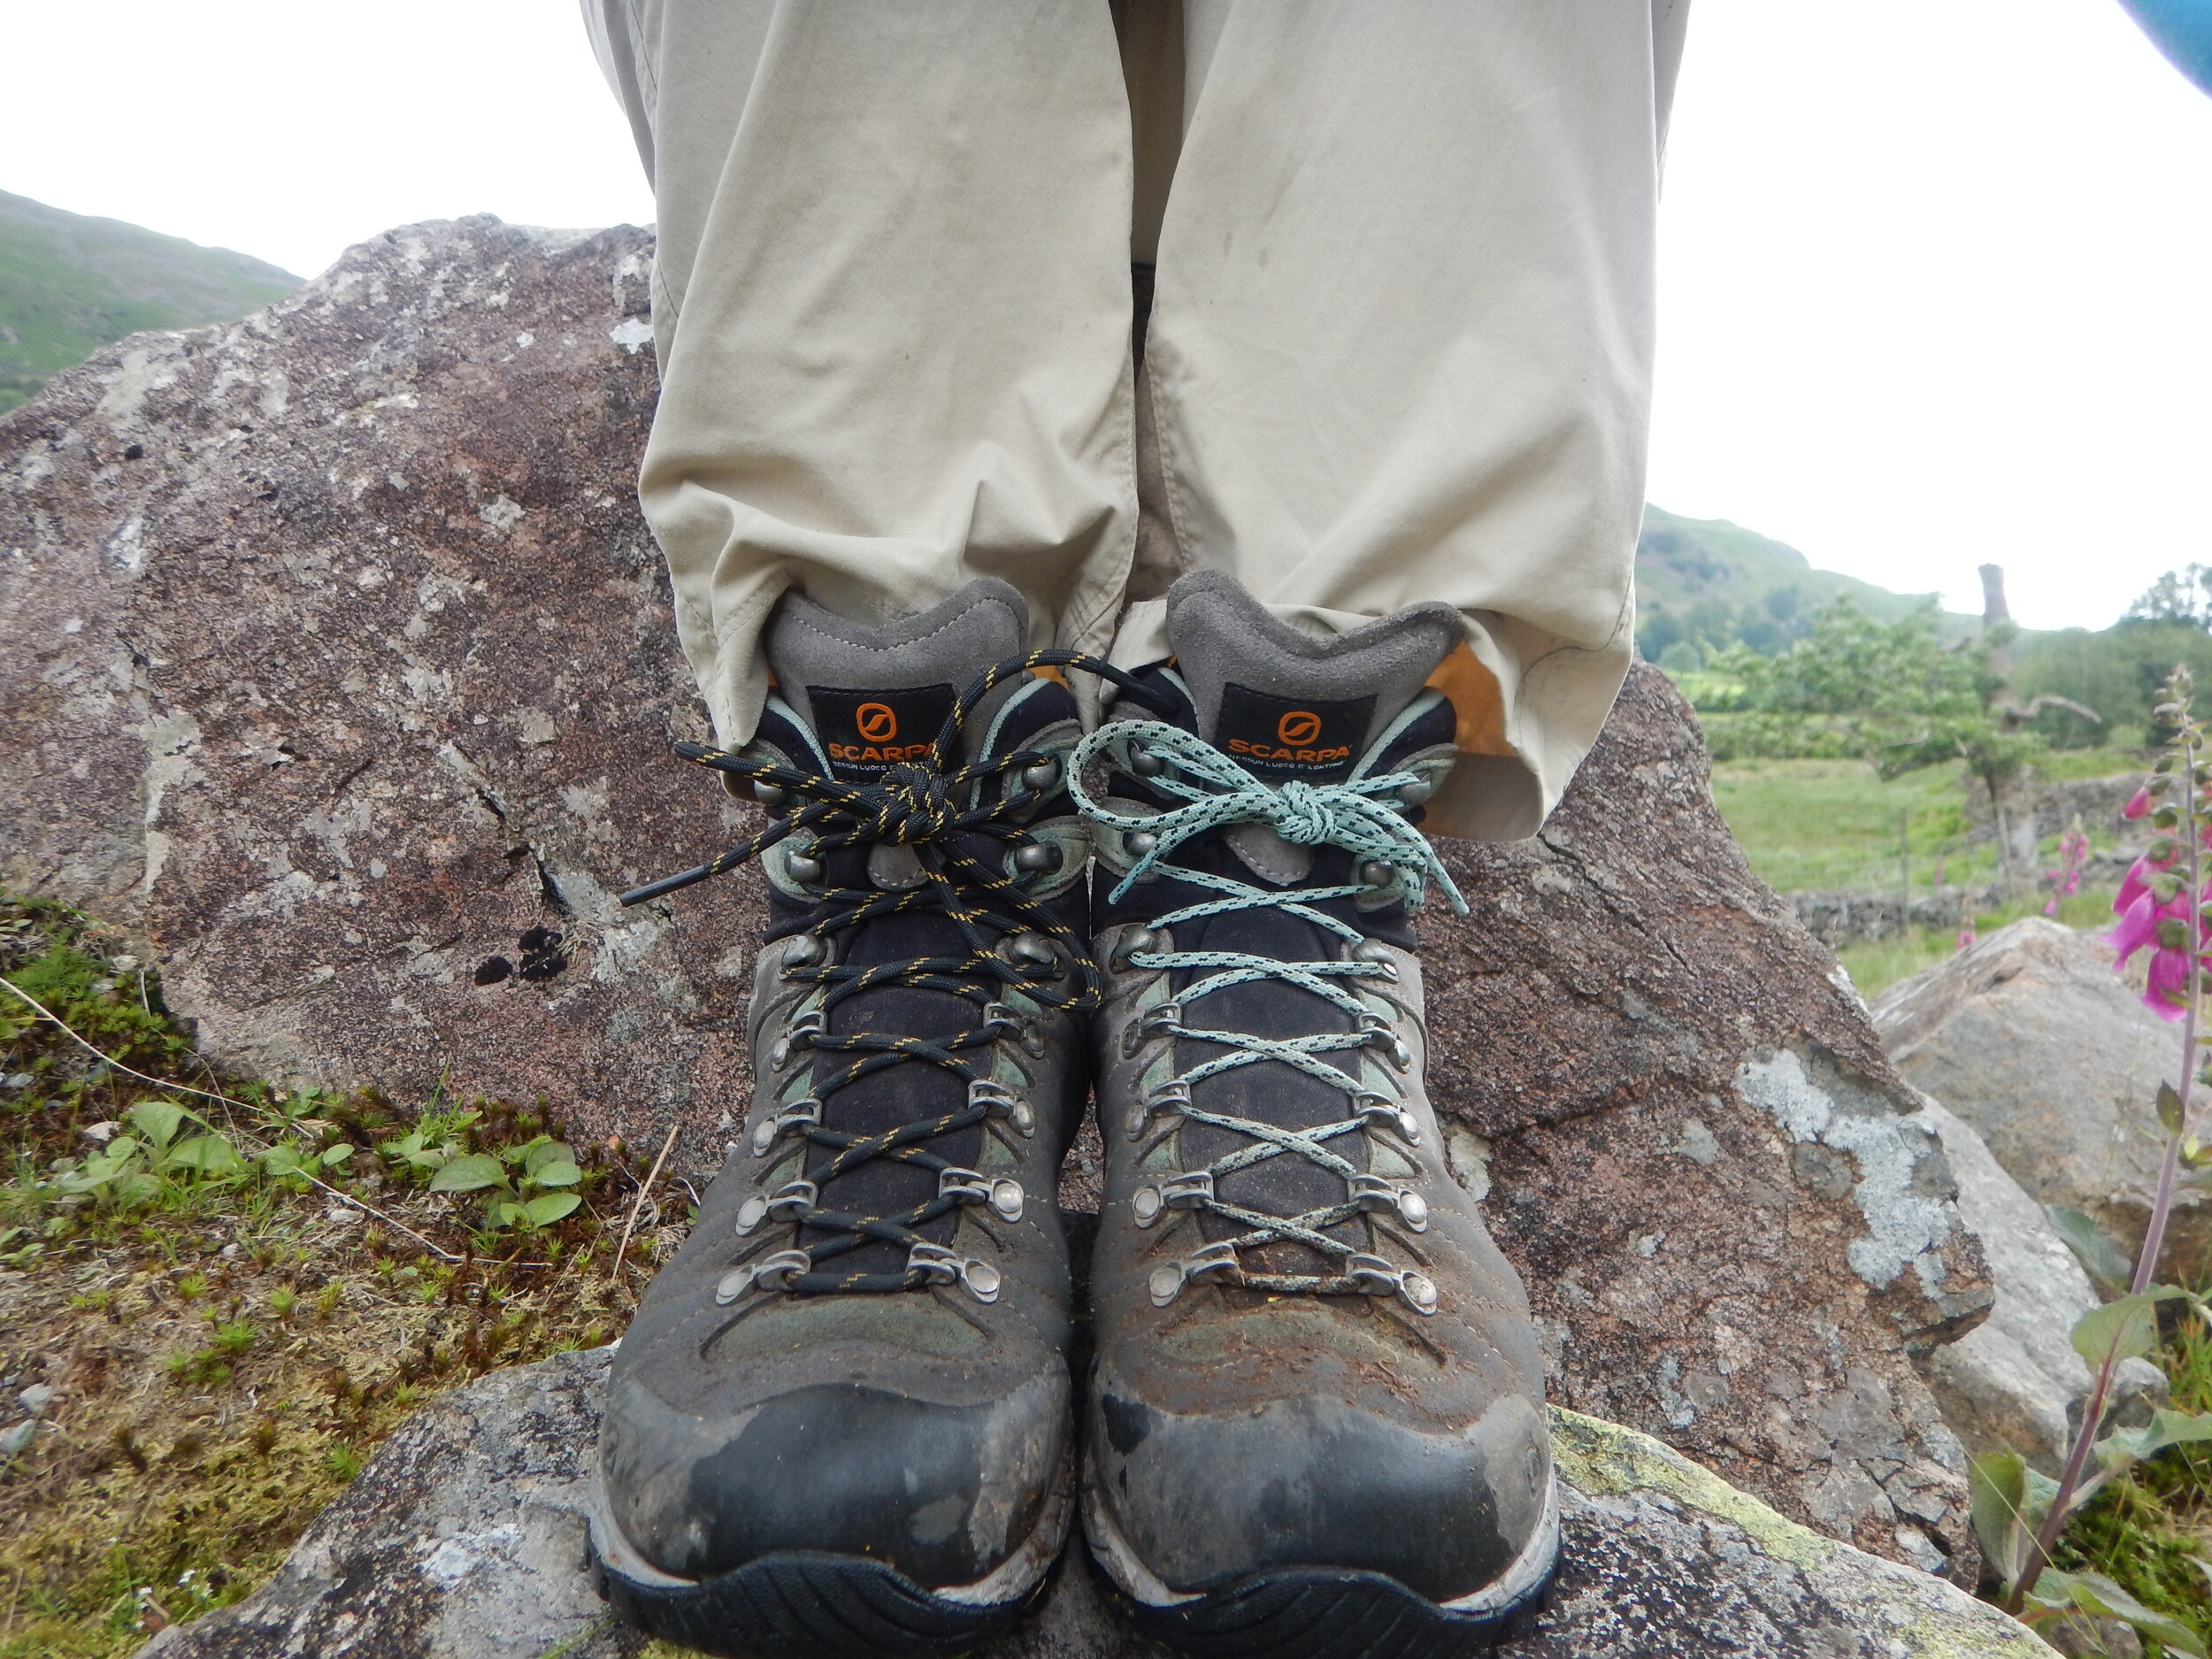
Photo - Cathy Casey
Laces are woven into boots so they look nice and neat when they arrive from the factory but of course, how your foot sits in the boot, the unique shape of your foot and how it changes shape due to time and distance in the real world are all critical to comfort.
With every step; two to three times your own body weight is transferred through your foot just through the force of gravity alone. Add a pack and that force increases through the 26 bones, 33 joints and over 100 muscles, ligaments and tendons that live in just one of your feet! No wonder they are bigger at the end of a walk than at the beginning.
So where do we start?
Well, it’s important to understand that even the most comfortable boot will rub and cause blisters if it is not correctly laced up.
Before you even touch the laces, make sure your heel is pushed right into the very back of the boot. This means your foot is in the correct position for lacing, ensuring your toes are as far back from the end as possible.
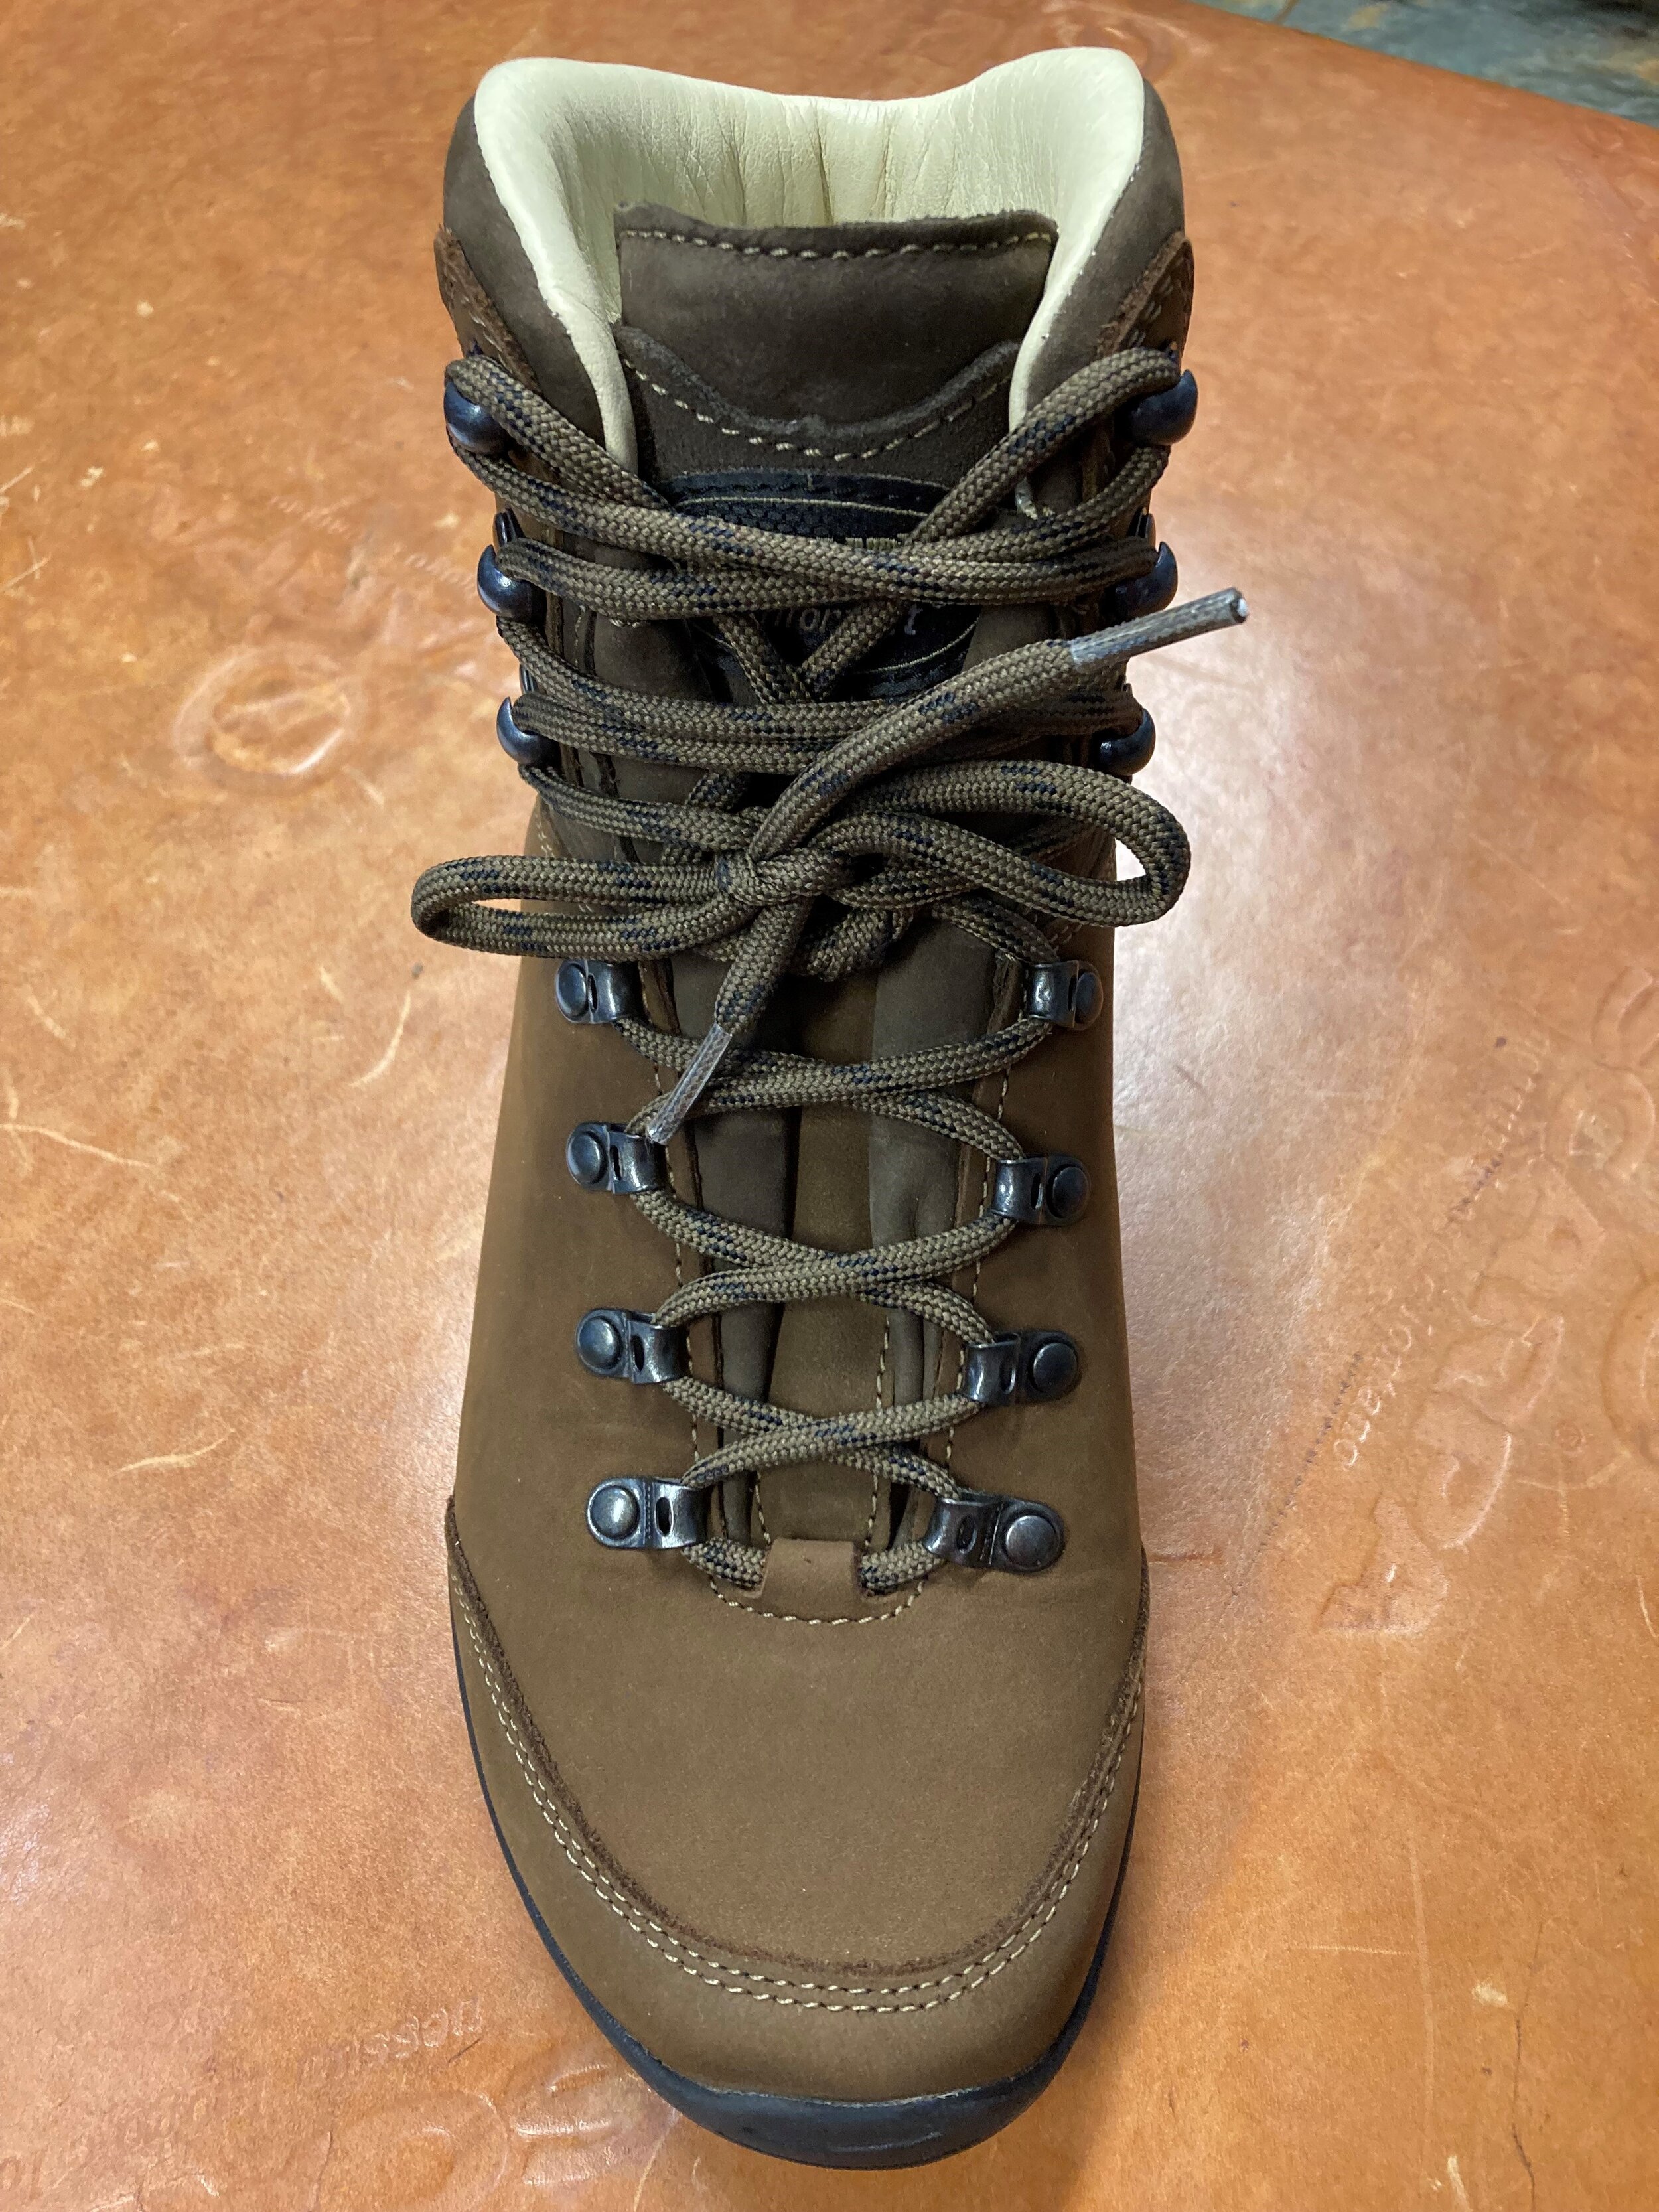
When lacing the boot ensure that you start from the toe and gradually tension the lace between each set of hooks. The tension should be enough that you are unable to get a finger under the laces but it’s also worth noting that too much tension can cut off circulation leading to pins and needles. Lace locks (larger, indented cleats) allow for the tension to be held over the fore foot whist giving a separate level of adjustment and tension around the ankle of the boot.
Be prepared to adjust your lacing during your walk. It is common to find that as you need to re-tension the lacing after a short distance even in boots that have been well broken-in and don’t forget that your foot shape will adjust during the day with temperature, terrain and load carried so it’s usual to re-lace during the day too.
Useful knots:
Surgeons Knot
Basically, this is an overhand knot with a loop laced underneath one more time. The extra loop creates more friction, and more friction holds more tension.
Double Wrap Knot
Like a standard bow that you’d tie but with an extra loop. Simply wrap the lace not once but twice around the “bunny ear” and continue the bow as usual. Once again; he extra loop creates more friction, and more friction holds more tension. This means you don’t need to tie a double bow, and makes your boots easier to untie while wearing gloves etc.
Lacing techniques:
To lock in your heel:
Lace your boots as normal leaving the top two hooks and tie a surgeons knot. Next, simply take each lace up in a straight line through the top two hooks on each side. Take each lace and loop it under its opposing side; through the straight line between your top two-lace hooks. Pull them through and tighten until your heel feels secure. You could choose to tie a bow right here or, cross you laces back up to the top hook and tie there. Either way, take a walk around to make sure your feet are comfortable and adjust accordingly.
To reduce pressure on the front of your ankle:
Lace your boots as normal leaving the top two hooks and tie a surgeons knot. Next miss out the lower of the two top hooks, cross and loop the laces over the top of the top hook so they are facing down. Cross these over the lower hooks and tie your boot in the lower position as normal. Again, take a walk around to make sure your feet are comfortable and adjust accordingly.
To reduce pressure on the top of the foot for high insteps
The simplest way to do this is to use a “lacing window” which essentially is “not crossing your laces over a particular part of your foot.” Basically, you find the part of your foot that feels compressed or that’s prone to sore spots and instead of lacing diagonally over that area, you pass the laces up an eyelet or a hook vertically. This creates a space in your laces that alleviates the pressure of a high arch. Lacing windows are also effective for other kinds of swelling across the tops of your feet, or perhaps where a vein crosses a muscle or ligament causing a pinch point. Another way to alleviate pressure in your foot is to use parallel lacing. Instead of your boot laces crossing back and forth over each other, they run in parallel lines across the width of your boot.
To relieve pressure on toes
If your toes feel squished, start by checking your boot size, change of socks etc. If you are part way through a multi-day walk, however, this might not be possible but there are things you can do to ease the pain:
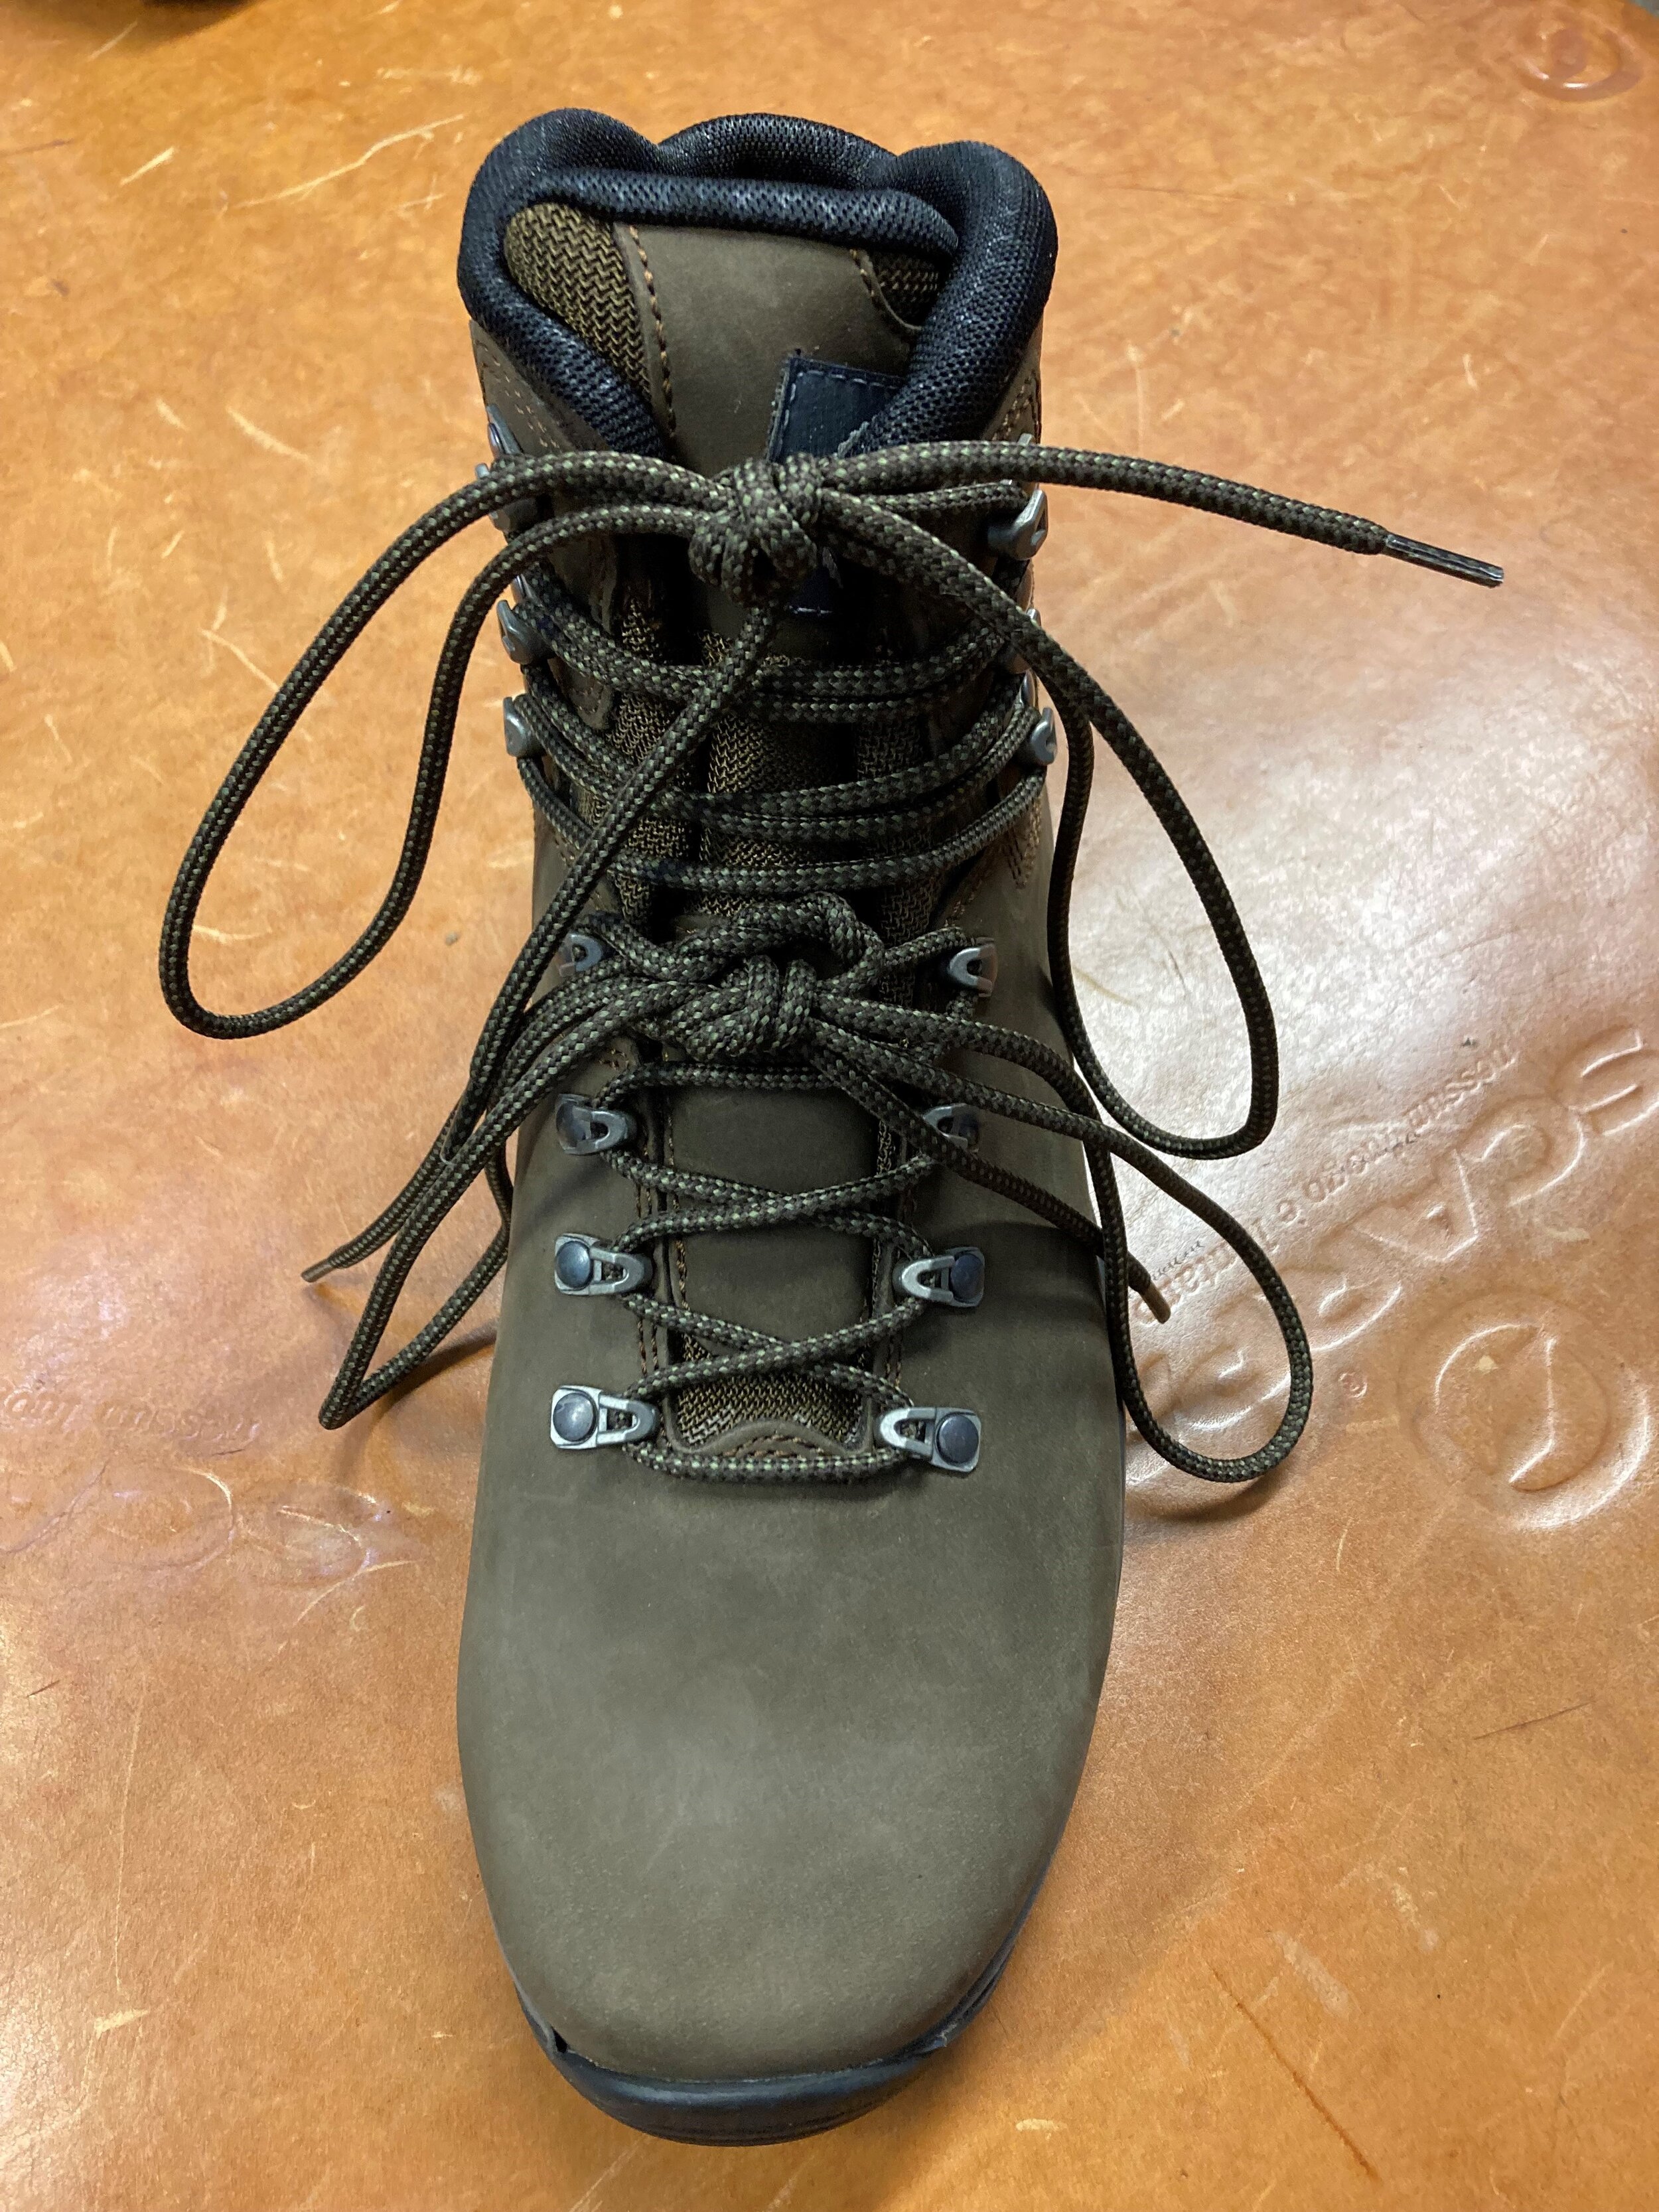
Use two laces per boot; one to lace your boot halfway up, whichever way feels best to you, then tie it off. Then take a second shoelace and start lacing again at the next eyelet up. Lace the boot all the way to the top with the second shoelace, then tie it off at the top with a heel lock. This allows you to adjust the tension on the toe laces without having to re-tie the entire boot. Note: As you can see in the image this can leave too much excess lace to trip over - simply buy a couple of pairs of shorter laces and that will do the trick. You can also alleviate toe -pressure by unlacing your boot completely, then re-lacing it, skipping the bottom eyelets and starting at the second ones up.
These are just a few ideas - if you search on You Tube there are lots of videos and how to’s to help you get the most from your walking boots. Oh and don’t forget your socks - they’re really important too!
Happy feet = happy adventures!
Want to know more? We have Buyers Guides on walking boots and socks available on our website or you can listen to our fun podcasts full of top tips and fascinating facts. Just click the image below…..


