
Buyers Guide to Building Your First Trad Rack
Excited to be buying the first bits of lead gear to build your trad rack? So are we!
Our climbing gear walls have been described as some of the best in Europe (by our International Reps who know a thing or two) and as boulderers, sport climbers, trad climbers and mountaineers ourselves we LOVE to talk about gear. Both the Joe Brown shops, and The Climbers Shop have been supplying climbers and expeditions since 1966 and 1959 respectively, we were founded by climbers and the only thing we love more than talking about gear is actually going climbing ourselves. We don’t just learn about what’s the best kit to use – we know what’s the best kit to use……..
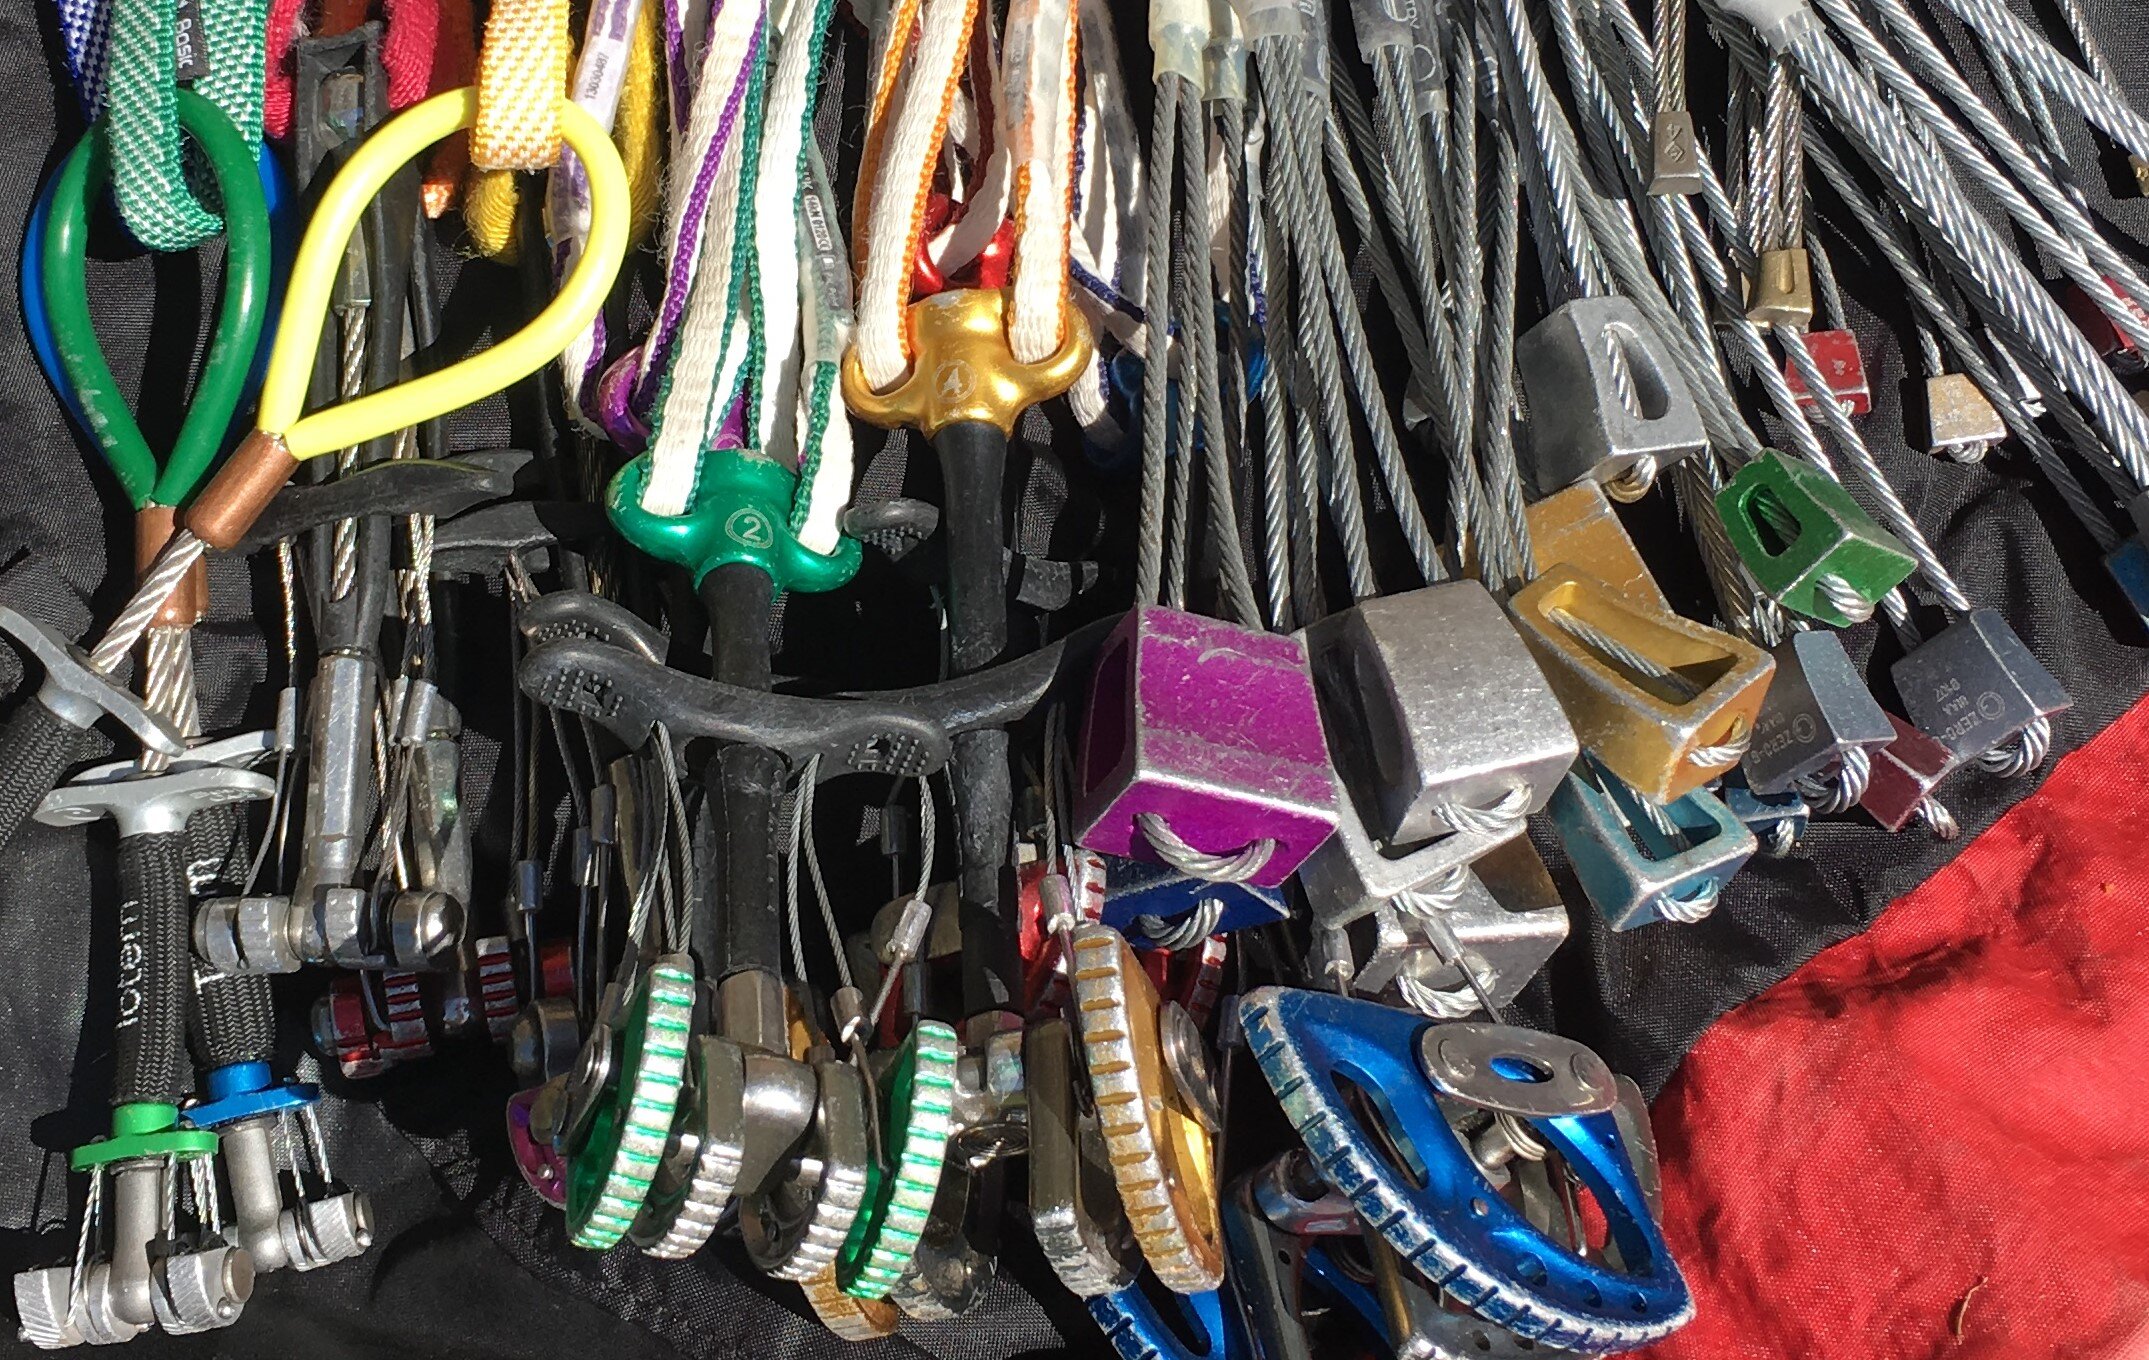
Photo - Paul Casey
What is the first piece of protection I should buy?
So, you have your shoes, your chalk bag, your helmet, your belay device and you’ve got a mate whose got a rope……. you could go all out and buy the DMM nut and Hex set which offers great value for money but is a big outlay. Also, as you climb more, you’ll discover that different routes and different types of rock accommodate different shapes of gear from different manufacturers so it’s always worth having a mix on your harness.
Nuts are ideal for placing in tapered cracks. If you have the means then the DMM Nut set 3 is a great place to start, if you are starting out nut by nut then go for mid to larger sizes of nuts as these will offer the broadest range for lower to mid-grade climbs. Don’t worry about the extra small sizes – you’ll need those when the grades get higher!
Compliment your standard nuts with similar sized Offset nuts which offer a different shape and place really well. Add to that some hex’s which are great for protecting parallel cracks and you are really starting to get a great collection of passive protection (gear that you place and then remove as your second climbs past).
Leading is a lot easier when you rack your nuts on karabiners with corresponding sizes bunched together: small on one krab, large on another etc.
Oh, and make sure you buy a nutkey. No one likes leaving shiny new gear on a route.
What length Quickdraws are best?
Well, that depends if you are mostly sport climbing or mostly trad climbing. If you are on bolts; these are (hopefully) placed along the line of the climb for protection, much like at a climbing wall. This regularity means extenders all the same length are fine, 12cm work well.
If you are trad climbing on passive protection where the rock dictates where you place the gear in relation to the line of the rope, then having a collection of extenders of different lengths makes life a lot easier when it comes to reducing rope drag. Look at extendable quickdraws too as these are multi-use; ideal to use as slings for threads and spikes. Quickdraw packs can be a cost-effective option but go for a pack with differing lengths.
Why are there so many different lengths slings?
Slings have a multitude of uses, not least running belays (when clipped to passive protection) and fixed belays (on a stance) but they can also be used in rescue or for abseils if you need to retreat.
A couple of 120cm slings and a 240cm sling will cover most needs. Thinner ones are lighter, thicker ones are easier to undo if they have been knotted – especially if you are wearing gloves. Most climbers prefer to carry slings around their chest with karabiners already clipped as they can be pretty bulky on your harness, sometimes getting caught on branches etc. Slings also come in different colours which can be handy to quickly identify length.
How do I choose which karabiners to add?
Karabiner packs offer great value for money, and you will want a mix of snapgates to attach, rack and use on running belays. Every karabiner has its strength stamped on its spine and if you look closely there is a big difference between the strength of its length, its width and if it has its gate open which may help your decision. Wiregate karabiners offer a lighterweight solution, larger karabiners can be easier to handle, some snapgates are designed to lock for added safety and there is often a choice of bent or straight gate. Bent gate karabiners can be easier to open – but that means an ill clipped bent gate karabiner can be opened by a rope too so if in doubt – go with straight gates.
You will need some screwgate karabiners for rigging belays as well. Again, the strength ratings are stamped on the spine. You may want to go for an HMS style for larger gate opening width allowing for knotted ropes and slings to clip easily.
Can I lead if I don’t own any cams?
Yes! Spring loaded camming devices or “cams” didn’t even exist until the 1970’s, long after the first pioneers of climbing were putting up hard routes. Up until that point Hex’s were a simple camming device used to protect parallel cracks. Wild Country Rockcentrics and DMM Torque nuts are modern versions. Camp Tricams also offer another option.
However, when well placed, spring loaded active protection devices like Wild Country Friends, DMM Dragon Cams, BD Camelots etc will make a great addition to your rack protecting parallel and slightly flared cracks by expanding into the placement. If they are well placed then any pressure will force them to continue to expand against the unforgiving rock, therefore holding them in place.
0.3 – 3 (Wild Country and Black Diamond) or 00 – 5 (DMM) are good sizes to start with.
Other considerations include: Is the cam single or double stem? (Single stem can fit in narrower cracks and can be easier to use if you have big hands. Double stem can be easier to use with just your finger and thumb) One axle or two? (Double axle has a larger extension range but a single is lighter) Cam stops prevent the lobes from inverting protecting delicate trigger wires.
Do I really need to carry Prusik Loops?
Oh yes! Whether you make your own or buy some Beal Jammies, Prusiks can save you a WORLD of trouble when things don’t quite go to plan.
Use one clipped to your leg loop while you abseil to protect from a fall or to take your weight when hair or clothing gets wrapped in your belay device. They are also very handy for getting yourself out of a sticky situation with a scared second, a jammed rope, crossing a rope knot in a 180m abseil and rescuing a cragfast sheep. We speak from experience!
Seriously, these have all happened.
How do I know when my gear has worn out?
Climbing loads will wear out your lovely shiny new kit. In fact, even if you don’t climb; your harness, slings, extenders etc all have a shelf life and will need to be inspected and possibly replaced.
If you are climbing on sea cliffs, have taken a fall or spilt chemicals on your gear then be safe, inspect and re-purpose it if required.
There are loads of top tips in the knowledge section of our Joe brown Outdoor Academy website on how to inspect your climbing gear: Climbing Knowledge — The Joe Brown Outdoor Academy
Top Tips:
Go shopping with your mate and/or someone more experienced so you buy the right thing for the routes you climb and, more importantly, gear that compliments each other’s racks.
Tag your gear so that you know who’s is who. We sell purpose made tags or you could use your own personal design of insulation tape.
Buy a length of rope off the reel and practice your knots so they become second nature. Tying a clove hitch one handed without bending your fingers looks REALLY cool!
Regularly tie yourself to a stair banister so you can prefect your belaying skills and be super slick out on the crag. It saves time and means you can enjoy the route and make it back to the pub to revel in your success.
Join a club – it’s the cheapest way to learn and you’ll have an instant pool of climbing partners or hire an Instructor or Guide to learn loads of great tips and techniques.

Click to listen to our light hearted podcast: Trad Climbing Gear - Nice Rack! where we are joined by British Mountain Guide Libby Peter discussing why there is so much to choose from.